Moulding bonbons

Preparation
Utensils:
-
bonbon moulds
-
ladle
-
melting machine or tempering machine
-
palette knife
-
triangular palette knife
-
paper
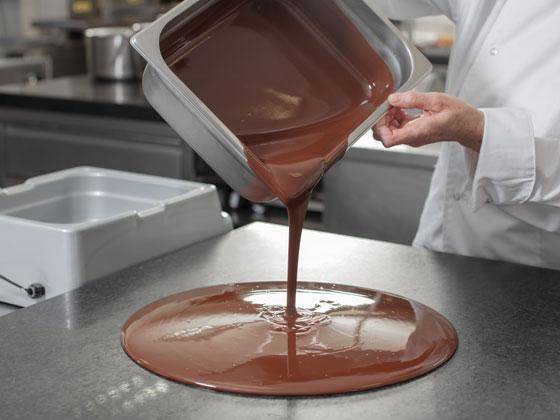
Temper the melted chocolate.
Ensure that the moulds are at ambient temperature (20-22°C).
To fill the inside of the bonbons:
- ganache, praline or filling of your choice
- piping bag with a smooth tube
- narrow or triangular spatula
Moulding the pralines
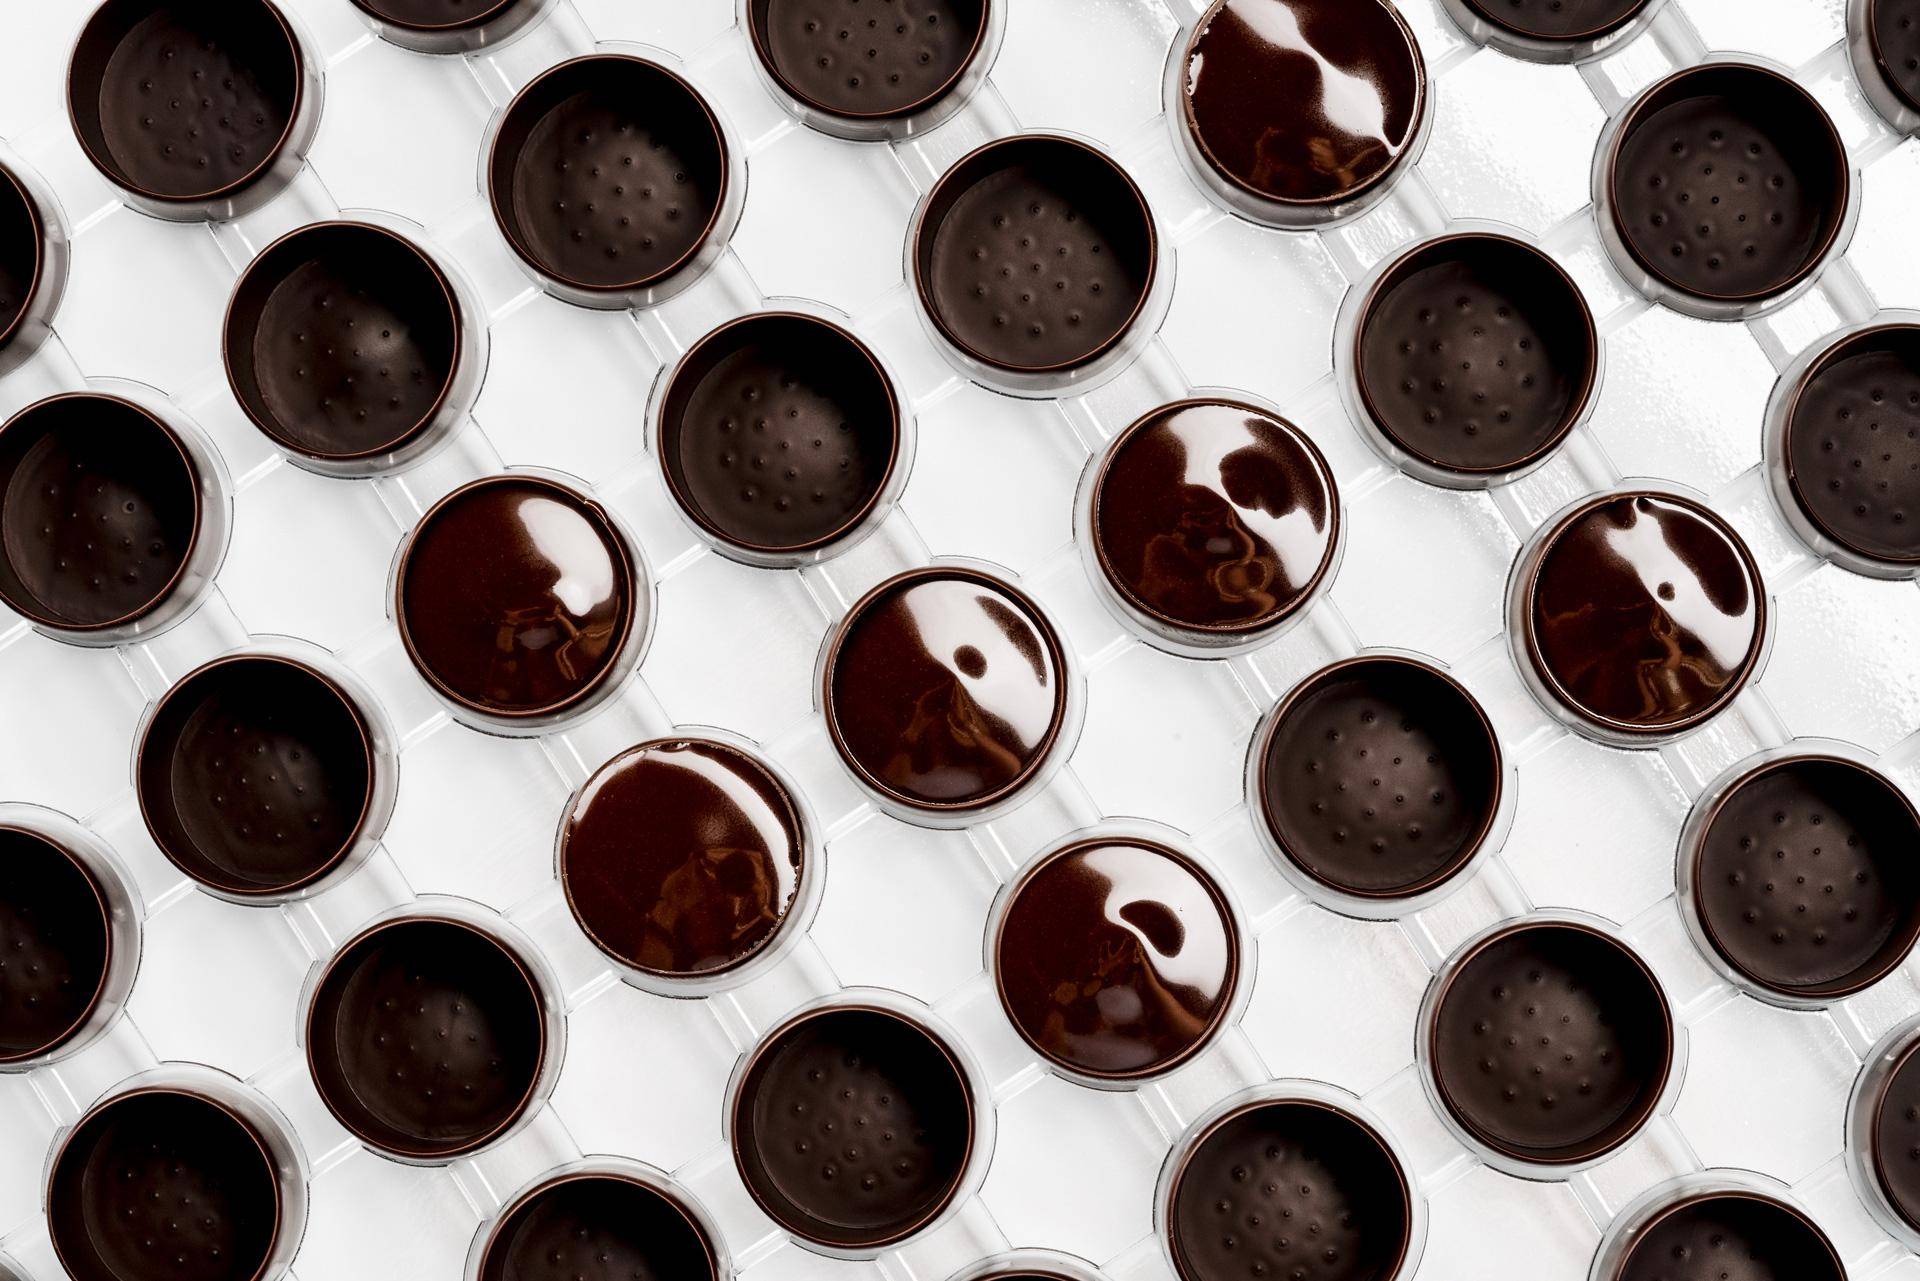
- Fill the mould with tempered chocolate. Tilt the mould and scrape the excess chocolate from the surface and edges of the mould with the palette knife.
- Firmly shake the moulds on the surface of marble or the worktop to release any air bubbles.
- Pour the excess chocolate off the mould and check that all the recesses of the mould are covered with chocolate.
- Remove the remnants of chocolate from the surface and edges of the mould using the palette knife or triangular spatula
- Drain the mould by tapping it for 5 minutes on the paper and put it in the fridge for 5 min.
- Scrape the remnants of chocolate from the surface of the mould using the triangular spatula and leave to harden for a few minutes in the fridge (10°C). The moulds are then ready to be filled.
- Fill them with ganache, praline or any other filling of your choice. Ideally you should use a piping bag (smooth tube or even without a tube). Fill them to within 2 mm of the edge, taking care to leave sufficient room to insert the closure. Ensure that the interior is not too hot (max. 25°C). Once filling has been done, leave to harden at 17°C for a minimum of 12 hours.
- To close the bonbons: heat the surface of the mould very briefly using a hot air gun. Then spread a small amount of tempered chocolate.
- Leave to crystallise.
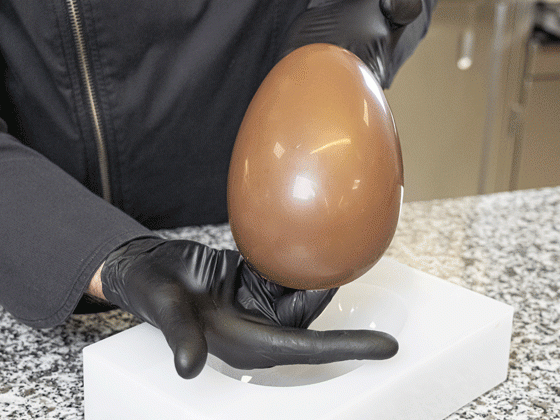
- To remove from the mould, turn the mould over.
Option:
Before pouring, a variation of the shades can be obtained by dabbing the mould. Proceed as follows:
- Before moulding place a small amount of dark, milk or white chocolate on the end of your finger. (For reasons of hygiene, we recommend wearing latex gloves). Draw a chocolate line (dark, milk or white) in the mould. Choose a colour that contrasts with the chocolate you intend pouring into the moulds.
- In the case of bonbon moulds it is best to use your finger. You can also apply this technique to larger moulds for hollow figures. To do this, pour a little tempered chocolate into the mould and spread it using a brush. You'll find more details in the chapter Decorations for Dabbing
- Leave to harden briefly at ambient temperature.
- Remove the excess chocolate by carefully scraping the edges of the mould with the triangular spatula. You can then continue with the moulding operation as described above.
Advice:
If you dab white chocolate, you need to let it harden completely before pouring the black or milk chocolate. In addition, make sure you pour it in fine layers. White chocolate melts at a lower temperature (about 4°C lower) than dark chocolate. If you mould chocolate in too thick layers, it will keep its temperature in the mould for too long a time and will melt the white chocolate. This will cancel out the effect.
If the layer is too fine to detach it from the mould, leave it to harden until it is dry to the touch before pouring a new layer (for very large moulds sometimes three layers are needed).
What types of chocolate are best for moulded pralines?
For a chocolate shell of average thickness, all types of basic viscosity chocolate can be used.


