Moulding subjects
Utensils:
- moulds
- chocolate tempering machine
- palette
- triangle
- spoon or ladle
- grid
- paper
- hot marble or ou hot stainless steel plate (± 35°C)
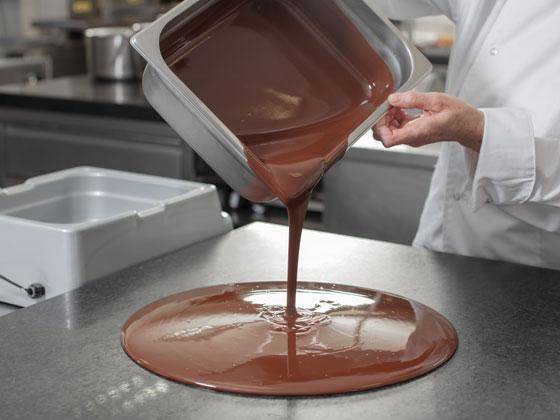
Temper the melted chocolate.
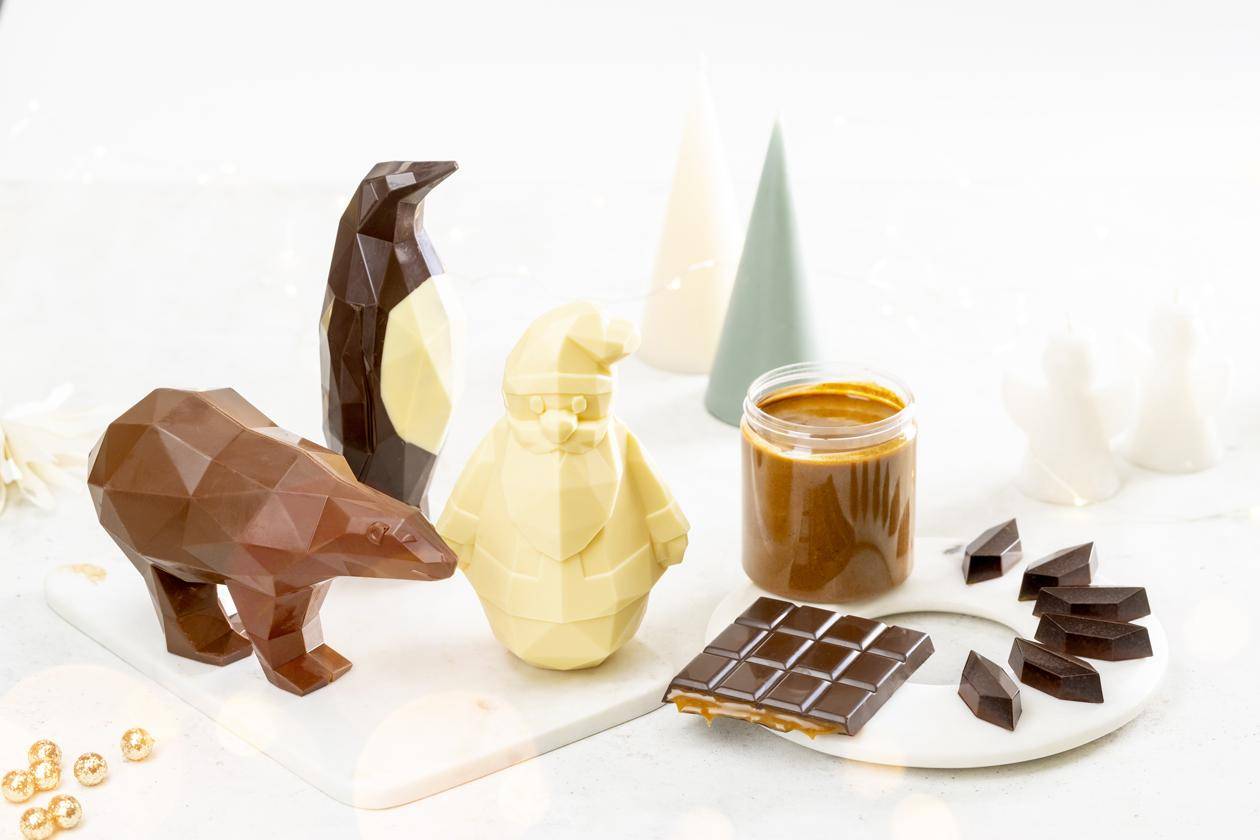
- Pour the tempered chocolate into the mold.
- With the back of the palette knife, tap the edges of the mold to eliminate any bubbles in the chocolate or vibrate it in the machine.
- Rotate the chocolate in the mold to ensure that it adheres to the edges of the mold with a consistent thickness.
- Empty the excess chocolate from the mold.
- Leave the mold to drain on the paper. A thickening then appears on the edge which will strengthen the "weld" of the two halves of the mold when you seal one against the other.
- If you notice - especially with large molds - that the chocolate wall is still too thin, repeat stages 1 to 5 inclusive. The larger the mold, the thicker the layer of chocolate needs to be. In fact, during cooling, the chocolate shell hardens and contracts. This is the way the chocolate figure comes out of the mold. But to contract sufficiently, the chocolate shell must be sufficiently thick and solid. Each time, let it drain onto the paper for a few minutes and leave it to gently harden at ambient temperature.
- Remove the excess chocolate from the mold and place the mold in the refrigerator for at least twenty minutes. For large molds: place them in the refrigerator with the opening towards the top. This point is extremely important to remove the heat from inside.
- After cooling: with the back of the palette knife, gently tap the edges of the mold and remove the figure from the mold.
- Briefly place one half on the hot marble or hot stainless steel plate and immediately seal it against the other half. Push it a little and hold it in this position for a few seconds.
- Tip: While taking figures out of the mold and sealing them, it's a good idea to wear gloves to avoid fingerprints. Preferably, remove figures from the mold onto a clean surface, to avoid attracting dust and chocolate fragments. In fact, molds and chocolate items have an electrostatic charge for a little while and so attract dust and fragments.
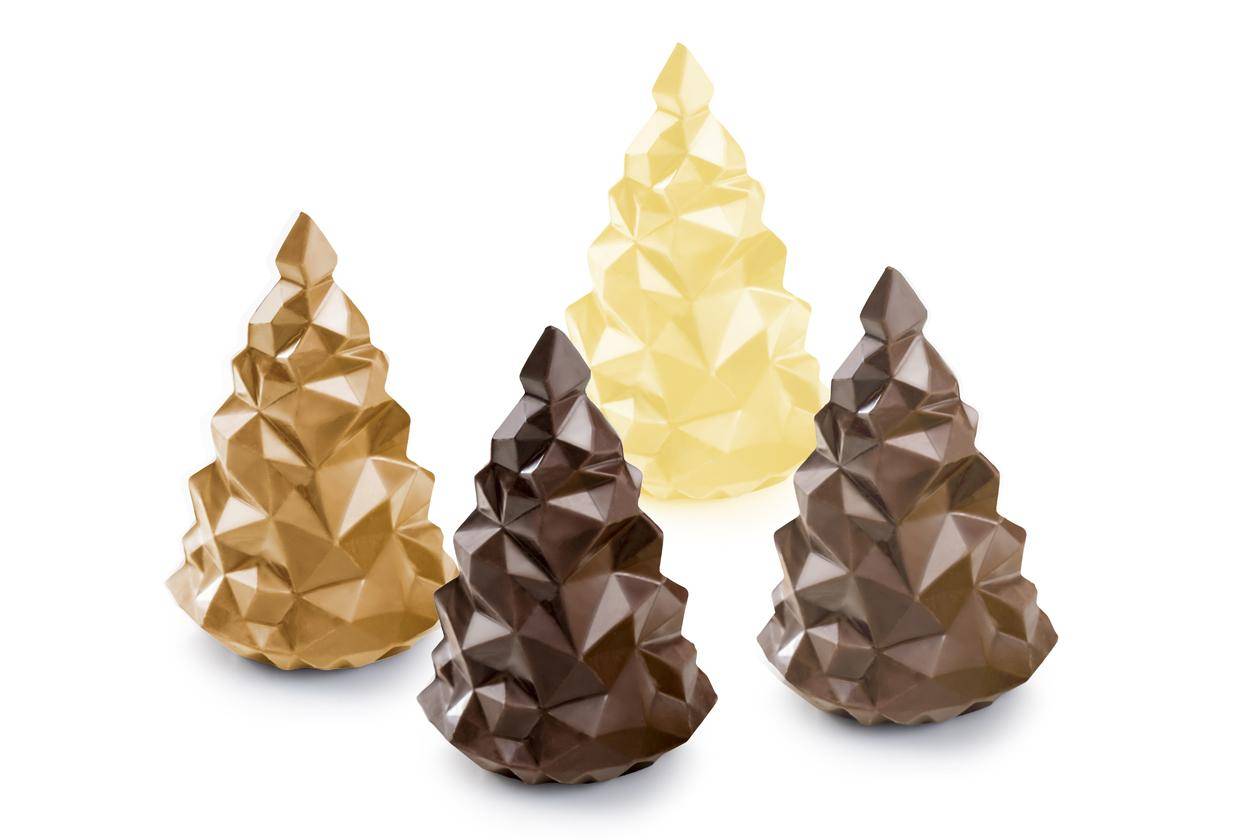
- For small and medium-sized molds:
All couverture chocolates.
- Please note: for medium to large-sized figures, we recommend repeating stages 1 to 4 inclusive twice, in order to obtain a chocolate shell that is sufficiently thick and which will come out of the mold easily. To do this, don't let the first layer of chocolate harden completely so that the second layer adheres well. The ideal method is to pour the second layer as soon as the first layer is dry to the touch.
- For large molds:
The best thing is to choose couverture chocolates that contain less cocoa butter and which are less fluid therefore. They leave a thicker layer of chocolate in the mold after a single pouring. During cooling, the chocolate shell hardens and contracts. And this contraction is crucial: for that, the shell must have a certain thickness. This thickness in fact determines the solidity of the shell which allows it to come out of the mold without problems.

